This article is an introduction to creating Docker containers. We will walk through setting up an nginx web server together.
If you haven’t installed Docker yet, please refer to the article on Docker installation.
Image vs Container
First, let’s start with some definitions.
What is an image?
A Docker image is a file system hierarchy that includes everything necessary to run an application: binaries, system tools, libraries, etc.
Note: An image does not contain a kernel; it uses the host machine’s kernel.
An image is “immutable” or inert, serving as a snapshot.
Docker Hub is a public repository where numerous images are published and regularly updated. It offers a wide range of images, including Debian, CentOS, MySQL, Java, and more.
Please note that there are official images (created by Docker employees), images directly created by software vendors (such as MySQL and Debian), and images created by individual users. Many images may have security vulnerabilities or even worse issues (as reported in an article by Le Monde Informatique (in French)).
What is a container?
To put it simply, a container can be seen as the instantiation of an image. With a single image, you can create multiple containers if desired.
Creating a container
We will start with an official nginx image. You can find it on Docker Hub at this location: https://hub.docker.com/_/nginx
We will execute the following command line:
docker run -d -p 8080:80 --name web nginx
Brief explanation of the different parameters:
- docker run: Command to create a container from an image.
- -d: Detached mode to run the container in the background.
- -p 8080:80: Mapping port 80 (from the container) to port 8080 on the host machine.
- –name web: Naming our container as “web”.
- nginx: Name of the image used to create the container.
And there you have it, you have just created your first container, that was quick! ^^
Your web server is up and running, you can access it from your browser.

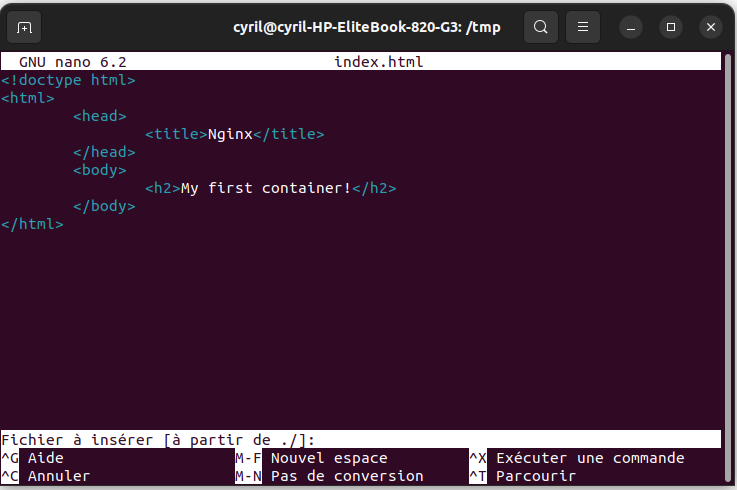
Now, let’s take it a step further by hosting our HTML pages. We will simply customize the index.html page in this article.
First, we start by creating an index.html file in our favorite text editor (nano for me… Not getting into the debate…).

I have created this index.html file in the /tmp directory of my machine.
Next, we will delete the container that we created earlier.
docker rm -f webThe “-f” parameter allows us to force the deletion of our container because by default, we cannot delete an active container.
Finally, we execute the following command:
docker run -d -p 8080:80 --name web -v /tmp:/usr/share/nginx/html nginxBrief explanation of the new parameter: “-v /tmp:/usr/share/nginx/html”:
We mount the local directory “/tmp” to the location “/usr/share/nginx/html” inside the container.
Note: You need to refer to the nginx image page on Docker Hub to find out where nginx stores the HTML pages.
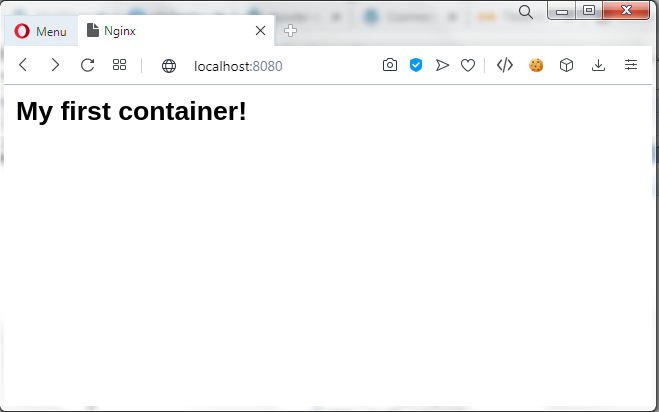
Now, if we access our web server again, it will return our customized page.

And there you have it, this article is just a taste of what can be done. There are several aspects to delve into (port mapping, volumes, etc.).


Leave a Reply